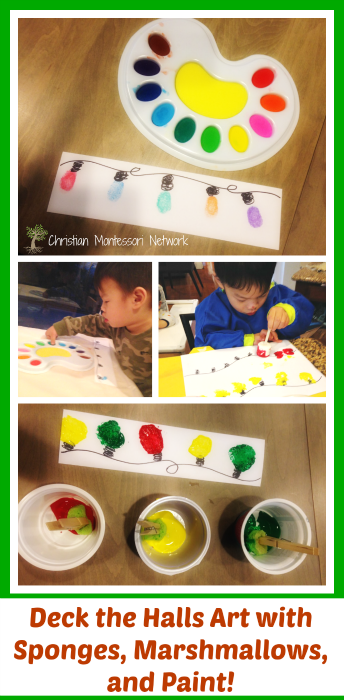
We have the pleasure of having Diane guest post for us today from her blog called, When Hippos Talk. She is an AMI trained Montessori teacher and has two adorable little boys who are frequently featured on her blog. Please enjoy this fabulous Deck the Halls Art using sponges, marshmallows, and fingers to paint these fantastic Christmas lights!
Does your family have a tradition of driving around to take in the holiday lights and displays near you? I still have vivid memories of those wonderful nights in my head! The tradition of viewing holiday lights is fantastic because it can be as simple as a few strands here and there in a neighborhood, or it can be an all out commercialized event. I was blessed to live within a reasonable driving distance of multiple neighborhoods and residential communities who had the Christmas spirit. The city would be decked out with beautiful decorations and colorful lights! This never failed to amaze me.
With Christmas headed our way, I wanted to share with all of you these super fun kid friendly Christmas light themed activities I enjoyed with my son and my nephew. We used simple, easily-accessible materials that can be found at home. We hope you have as much fun as we did! We did Marshmallow-lights, Sponge-lights and Thumb-lights! We used almost the same materials for all three activities.
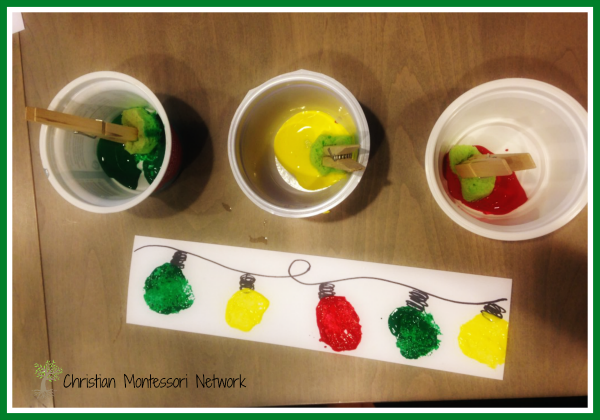
Sponge Lights
- Gather the MATERIALS you will need:
- Paint- different colors-depending on how many colors you want your lights to have
- Cups one for each color (I save our yogurt cups to hold paint.)
- Clothespin- one for each color
- Plain white piece of paper- I used card stock.
- Sharpie
- Place the paint in small containers-one color in each container. I use yogurt cups as paint containers.`
- Cut up the sponge into small oblong shapes to make them look like light bulbs.
- Attach the clothespin to the top of the sponge or marshmallow.
- Dip one sponge into each of the containers.
- Take a piece of card stock and cut it into 3 equal pieces horizontally. (You should have 3 long strips.
- Take one strip of paper and draw a squiggly line (wire) across it. Don’t forget to draw a squiggly circle (screws) to hold up each of your bulbs!
- Start stamping your sponges underneath the screws until each one has a bulb!
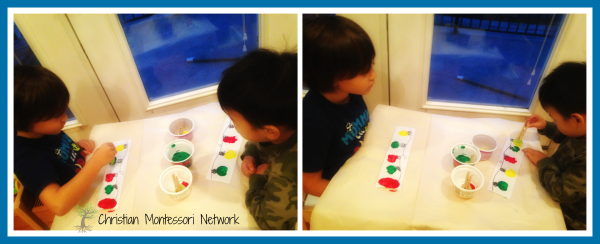
Having two children work on the same project together allows them to share, to wait patiently for their turn, to observe and appreciate someone else’s work and to encourage one another. My nephew and my son cheered each other on while they waited for their turn. I loved that they kept their hands to themselves and respectfully observed the one at work.
Marshmallow Lights
Who doesn’t love marshmallows?! Here’s a fun way to use up those extra marshmallows in your pantry! Simply follow the instructions for Sponge Lights but use marshmallows instead of sponges. You can stick a coffee stirrer in the middle of the marshmallow (instead of using the clothespin). It is much easier to stamp and control the marshmallow.

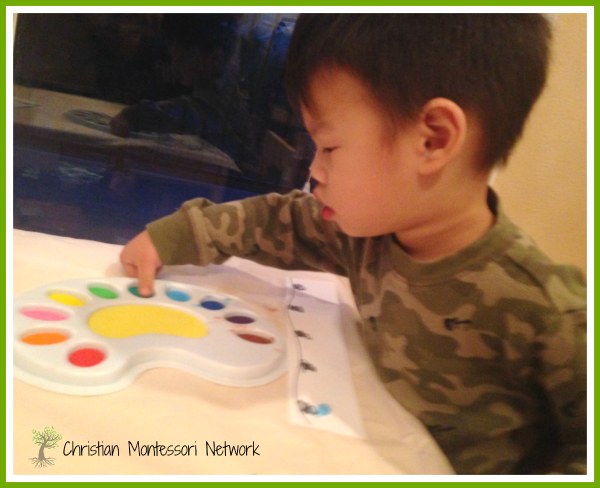
Since this was our first activity, I started it off with just the simple instruction by using the same color. I made him repeat this a couple of times.
Once I saw that he got the hang of controlling the stick and was stamping the marshmallow with ease, I asked him to alternate the colors and introduced simple patterning. We’ve been learning it with Montessori materials but I wanted him to know that he could makes patterns in different ways and with different things.
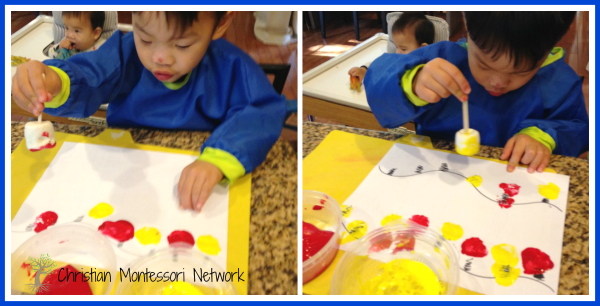
I made him point out and name each color and think of the color that should come next. We also counted all the light bulbs he stamped after each one was complete. Thus adding counting as another skill through this activity. Once he grasped the concept, I allowed him to make his own patterns.
Thumb Lights
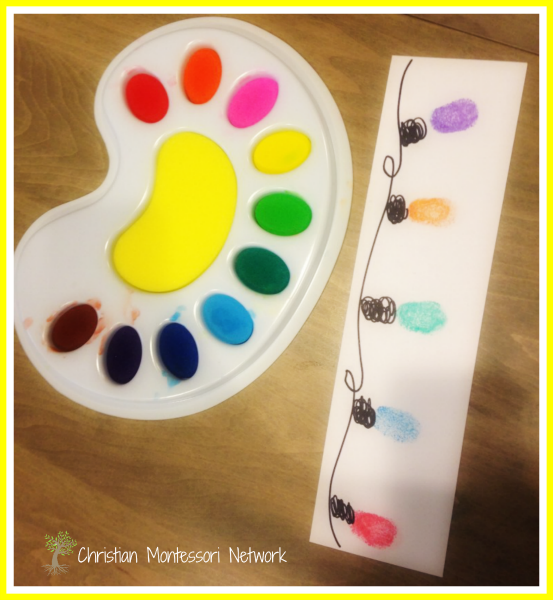
- Gather the materials: different colored Ink pads, Sharpie, paper, baby wipe or wet tissue
I used the finger pad I got from Lakeshore. It came in really handy because it was the perfect size for the thumb.
- Take a piece of card stock and cut it into 3 equal pieces horizontally. (You should have 3 long strips.)
- Take one strip of paper and draw a squiggly line (wire) across it. Don’t forget to draw a squiggly circle (screws) to hold up each of your bulbs!
- Place your thumb or pointer finger in the colored ink pad of your choice.
- Position your finger underneath the squiggly circle and press down firmly.

- Wipe off your finger before using another color.
- Repeat with each colored ink pad.

Diane, otherwise known as The Hippo Mum is an AMI trained Montessori teacher with a Masters in Early Childhood Education. She taught as Primary head teacher for 2.5-6 year olds and 6-9 year olds for several years. She also worked at a Christian Montessori school in San Diego before moving to the Bay Area. She is currently a stay-at-home mom to two precious boys. In her blog, whenhippostalk.wordpress.com, Diane shares about her joys and challenges as a Christian, a wife, a mom of two. She also writes about Montessori activities, homeschooling lessons and different ways in which you can engage your child. Join her as she navigates through the journey of marriage and motherhood with God as her navigator, the bible as her map, her husband as my co-captain and her boys as her passengers.
Ooooh, it never occurred to me to do patterning using paint! I’ve always pre-prepared the patterns for him, and it’s never really engaged him, but doing it this way is a little more open ended and needs more engagement from me — it might just be the ticket to get him to understand how patterning works! Oooooh, thanks!!